| Share |
|
2025 |
HydroModem - Underwater Bell 103 modem implementation for low-power microcontrollersHydroModem is a Bell 103 modem implementation to decode data from an always-on underwater hydrophone. Designed for low-power microcontrollers such as AVR ATmega328P, it can listen underwater long-term and implement the reliable trigger for an acoustic release in ocean research sensor prototypes. OverviewThis is an implementation of a Bell 103 modem decoder for Arduino devices with low-power microcontrollers such as ATmega328P. It uses a simple Goertzel algorithm to detect the power of two frequencies, compares them to determine mark-space bits, and then decodes these into 8-bit characters. This method can handle background noise and is used here to implement an acoustic underwater data transmit/receive mechanism. Low-power devices can be permanently placed underwater, listening for a wakeup message, and then take some kind of action like burn a nichrome wire for an acoustic release. It is expected that the modem will run on its own ATmega328P since there is no time remaining, and a co-processor like another ATmega328P will listen to the decoded characters and take action. HydroModem is an easy-to-use component that can be used for building low-cost devices to support research in the world's oceans. This implementation supports a 2600 Hz sample rate on an ATmega328P at 16 MHz. Transmission is with sine wave tones at 1070 Hz and 1270 Hz. The sample rate must be at least double the highest frequency (Nyquist theorem) and during testing at low signal strength some sample rates were found to be more reliable than others due to aliasing. This implementation supports up to 3300 Hz, but beyond that requires a higher clock rate on the microcontroller, possibly using something like an ESP32S3. The input is read in via the Arduino ADC, which needs to be able to capture samples at the frequency required. The ATmega328P must be run at 16 MHz for 2600 Hz sample rate, requires at least 4.0V for this clock speed according to the datasheet, and will draw 7 mA current or 0.028 W power. This is 1-2 orders of magnitude better than a Raspberry Pi running Linux, and capable of running for weeks/months on a battery underwater. Sample audio
Sample audio generated by the modem tests, with image and video spectrogram of the FSK frequencies in use: |
Arduino Uno 16MHz on Linux command-lineThe modemrx.ino project can be built on the command-line and also loaded into the Arduino IDE on any supported platform. # Download arduino-cli (run once) ./download-arduino-tools # Download arduino libraries (run once) ./download-arduino-libs # Build and upload the modemrx project via USB serial make -C modemrx upload # Read characters decoded from the modemrx project make -C modemrx read Listen and record audio on Linux via Arduino ADCThe recordwav.ino project allows you to listen to or record the audio at the ADC, making debugging with Linux tools easier. # Download arduino-cli (run once) ./download-arduino-tools # Download arduino libraries (run once) ./download-arduino-libs # Build and upload the recordwav project via USB serial to record from the ADC make -C recordwav upload # Save audio to disk for offline testing, adjust gain and center for SparkFun SPH8878 microphone ./recordwav/save_arduino_sparkfun_sph8878.sh # Listen to live audio on speakers, adjust audio gain and center for SparkFun SPH8878 microphone ./recordwav/live_arduino_sparkfun_sph8878.sh Linux testing of modemThe modem code also builds on Linux with the ability to encode to and decode from WAV files. Automated regression tests are provided to ensure that different sample rates all work after changes are made. Tests also verify that HydroModem's Bell 103 encoding is compatible with MiniModem http://www.whence.com/minimodem/ on Linux. # Download Debian/Ubuntu dependencies (run once) ./linux-test/apt-get-deps # Build Linux binaries make -C linux-test # Generate WAV files using test strings ./linux-test/bell103_goertzel_wav_encoder # Decode WAV files and recover test strings ./linux-test/bell103_goertzel_wav_decoder # Run test suite that verifies encoding and decoding at various sample rates. make -C linux-test test |
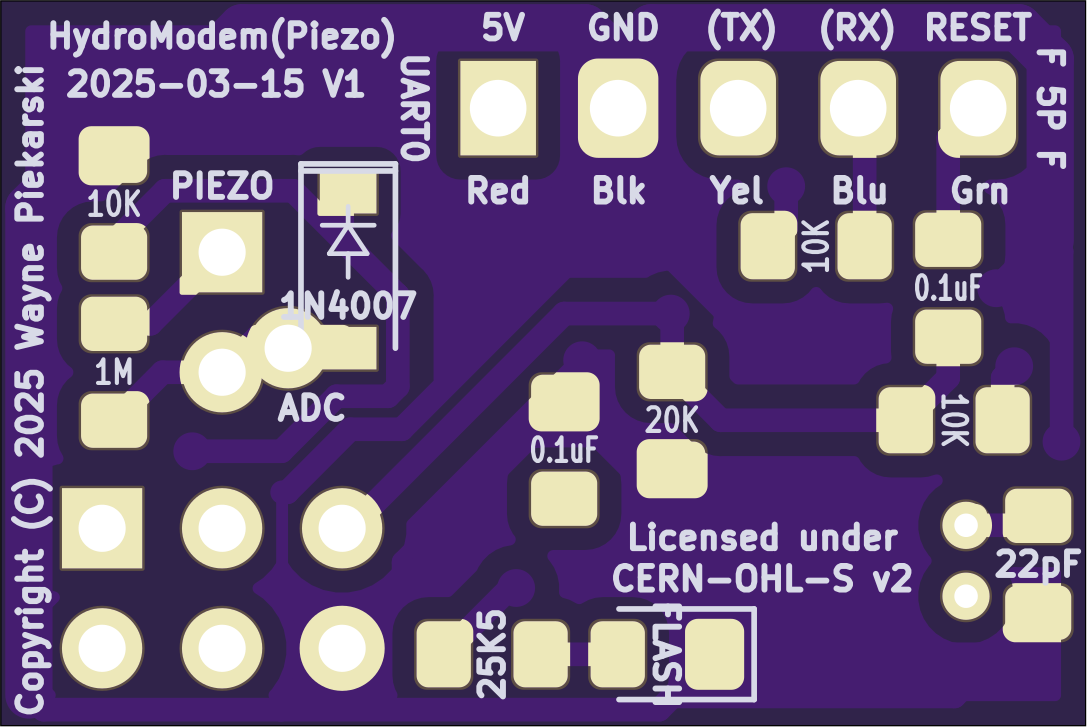
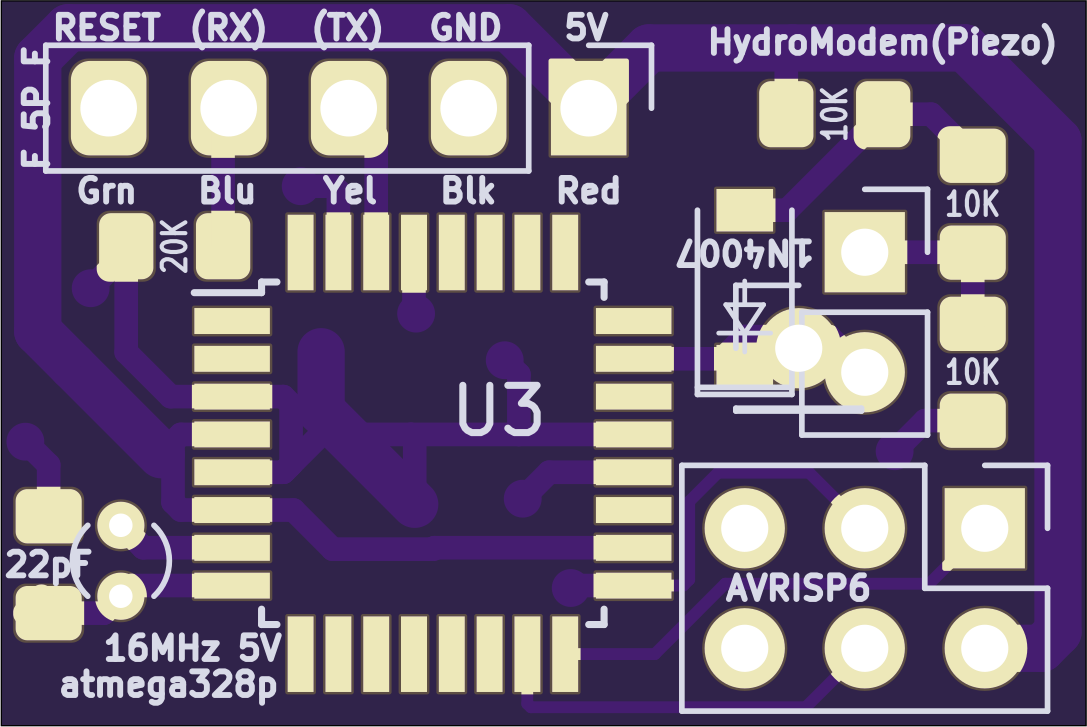
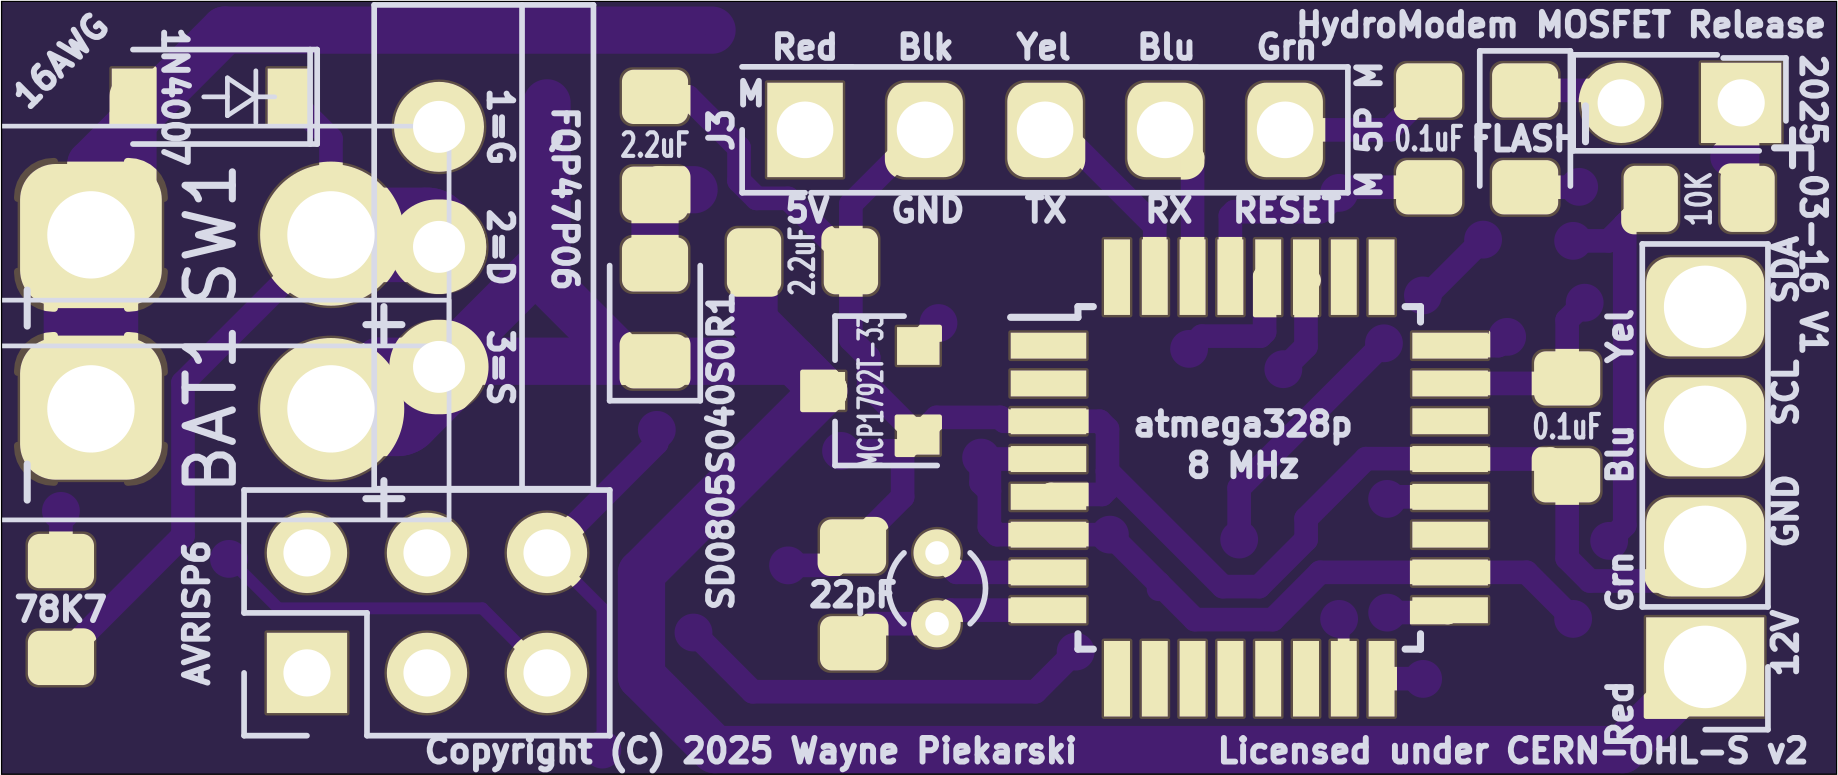
Connecting a microphone or hydrophoneThis is currently the software needed to read audio from the ADC pin on an Arduino Uno. Currently it is easiest to test by connecting a microphone like the SparkFun SPH8878 and testing it in air listening to the sample audio from a phone transmitter. Once this is working, you then need to connect a hydrophone to the ADC pin. The design of a suitable hydrophone and how to connect it is future work. Make sure that your microphone does not exceed the voltage specs of the Arduino ADC. KiCAD v5 schematics and PCB layoutsThese designs need to be built and tested. The modem also needs to be tested in water and frequencies tuned for best performance. Full project files are provided, including .kicad_pcb files for fabrication at oshpark.com. kicad/release-modem-atmega328p/5V ATmega328P running at 16 MHz. Requires regulated 5V provided by the other board. Connects to a piezo-based microphone and includes protection diodes. Only runs the HydroModem implementation and nothing else. Arduino Uno-compatible AVRISP6 connector for programming. kicad/release-serial-i2c-atmega328p-switch/3.3V ATmega328P running at 8 MHz. Implements a MOSFET that can switch high-current to burn a nichrome release wire. Provides on-board MCP1792 regulators for 3.3V and 5V from a >= 6.2V battery. Arduino Uno-compatible AVRISP6 connector for programming. |

GitHub repositoryThe HydroModem source code and KiCAD schematics are available on GitHub under GPLv3 and CERN-OHL-S v2 at https://github.com/waynepiekarski/hydro-modem Source code GPLv3 licenseHydroModem: Underwater Bell 103 modem implementation for low-power microcontrollers Copyright (C) 2024-2025 Wayne Piekarski wayne@tinmith.net https://waynepiekarski.net/projects/hydro-modem.htm This program is free software: you can redistribute it and/or modify it under the terms of the GNU General Public License as published by the Free Software Foundation, either version 3 of the License, or (at your option) any later version. This program is distributed in the hope that it will be useful, but WITHOUT ANY WARRANTY; without even the implied warranty of MERCHANTABILITY or FITNESS FOR A PARTICULAR PURPOSE. See the GNU General Public License for more details. You should have received a copy of the GNU General Public License along with this program. If not, see http://www.gnu.org/licenses/ KiCAD schematics and PCB license CERN-OHL-S v2This source describes Open Hardware and is licensed under the CERN-OHL-S v2. You may redistribute and modify this source and make products using it under the terms of the CERN-OHL-S v2 (https://ohwr.org/cern_ohl_s_v2.txt). This source is distributed WITHOUT ANY EXPRESS OR IMPLIED WARRANTY, INCLUDING OF MERCHANTABILITY, SATISFACTORY QUALITY AND FITNESS FOR A PARTICULAR PURPOSE. Please see the CERN-OHL-S v2 for applicable conditions. Source location: https://www.waynepiekarski.net/projects/hydro-modem.htm As per CERN-OHL-S v2 section 4, should You produce hardware based on this source, You must where practicable maintain the Source Location visible on the external case of the device or other products you make using this source. |
Generate modem audio samplesThe source code includes a HTML5 sample web-bell103-encoder.htm to generate audio. It is also available here to use on a mobile phone and can transmit the audio via Bluetooth or a headphone jack to a hydrophone transmitter underwater. Modem audio generatorText: Baud: Repeat:Log |
| Share |
|
2025 |

Google Developer Advocate 2014-2023
X-Plane plugins and apps for flight simulation
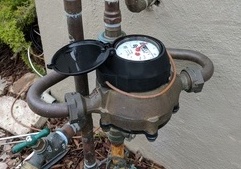
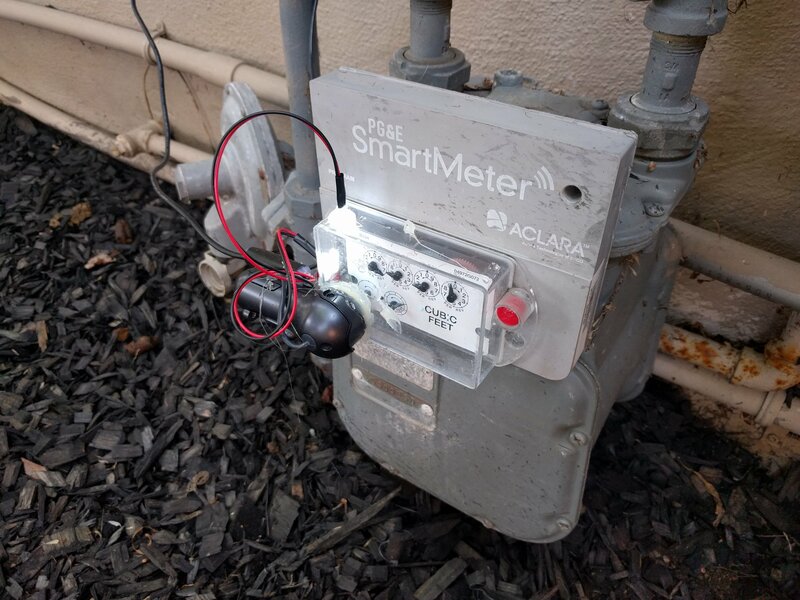
IoT water meter monitoring
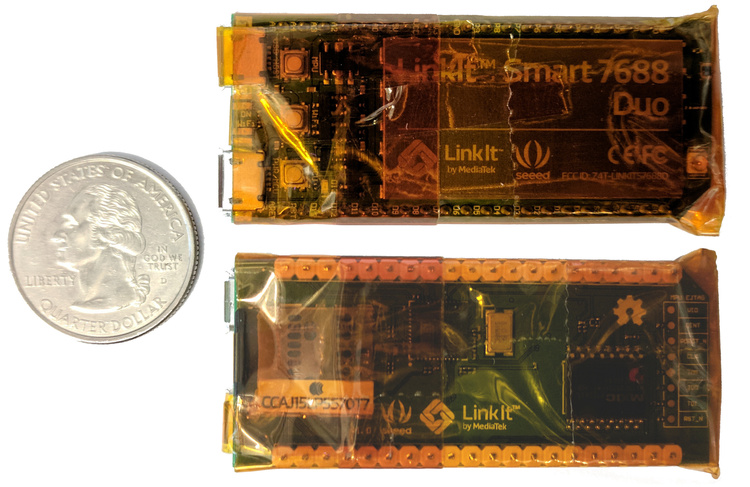
IoT computer vision monitoring
Tiny and cheap offline Wikipedia project 2017
Outdoor augmented reality research
Tinmith 1998-2007
Outdoor augmented reality 3D modelling
Tinmith 1998-2007
Outdoor augmented reality gaming
ARQuake 1999-2007
Scanned physical objects outdoors
Hand of God 3D 2006